Those of you that we have as an acquaintance on Facebook might know that we had a small “competition” for our nearby friends. For those of you that weren’t aware, the deal was as follows: anyone who saw the message and had any sort of design skills he wanted to show, would propose an idea/sketch of what they envisioned as our logo, the winner would get a 18-19 L batch of whatever beer they wanted made. Now, we didn’t just ask people to come up with whatever came to mind, we had a concept idea behind. Our original idea in naming our home brewery was in relation to Aztec mythology, in particular the Aztec god Ometochtli which translates as “Two Hare/Two Rabbit”. This god was the leader of the Centzon Totochtin a.k.a the 400 rabbit/hare gods of drunkenness and debauchery. This explains the Hare in the name, but not the snow. The Snow part comes from the fact that while I’m Mexican, my better half is Finnish, and “snow hare” is another name for one of the typical hares they have in Finland. So after much debating and brainstorming we decided on Snow Hare Brewing.
Ometochtli
On to the juicy part…
We received a total of 4 submissions (+1 in joking manner, so it wasn’t considered). The people behind the designs were: Gina, Antti, Ville and Mika. We’ll go one by one (or more since some submitted more than one option). I’ll go in the order listed above.
Gina’s designs

Gina’s design #2
Gina’s design #1
These designs were cool because they’re easy to imagine as beer labels. Similarly, the follow quite strongly the reference to Aztec mythology as it is quite obvious.
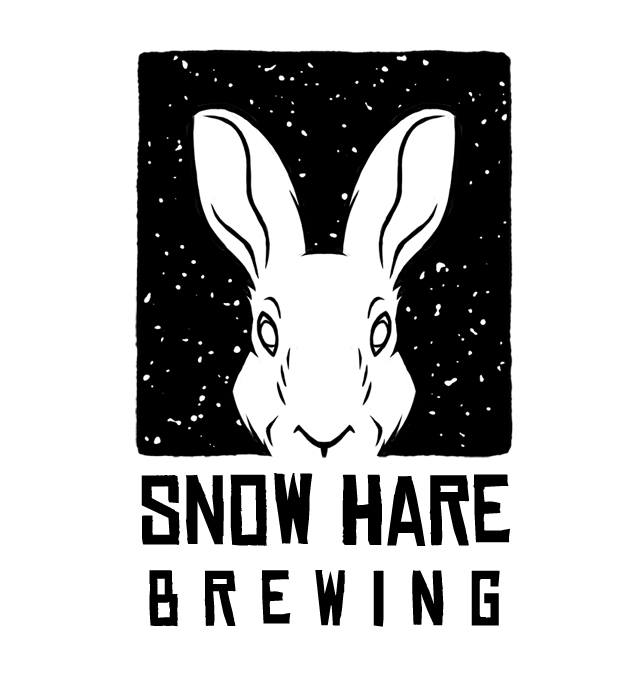
Antti’s design

Antti’s design
This one we thought to be “sexy”, I mean, just look at the hare! Antti was planning on polishing the design more, but he didn’t have time to propose anything else.
Ville’s designs
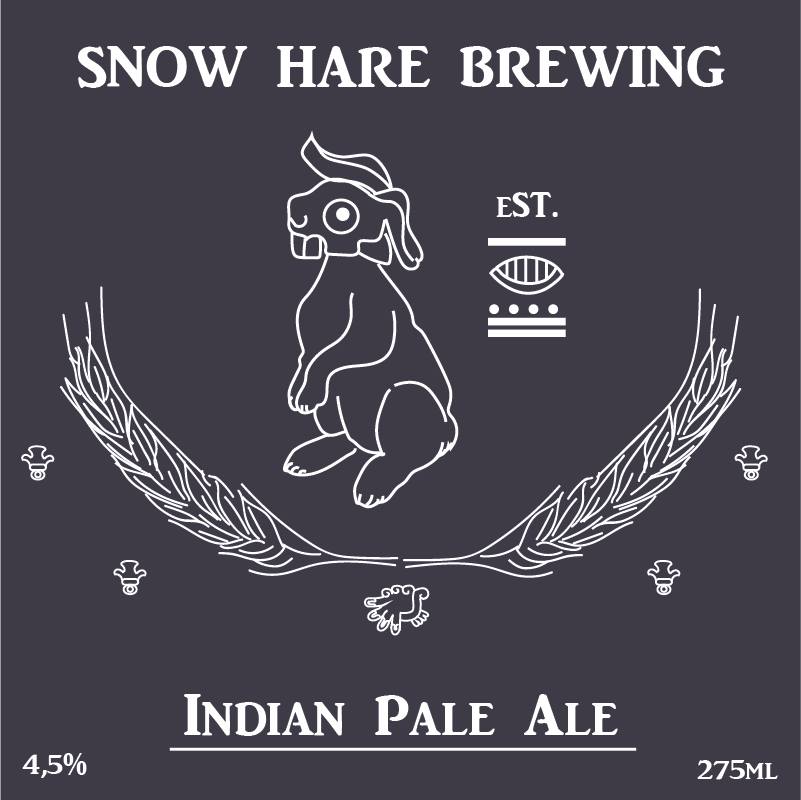
Ville’s design #1

Ville’s design #2

Ville’s design #3
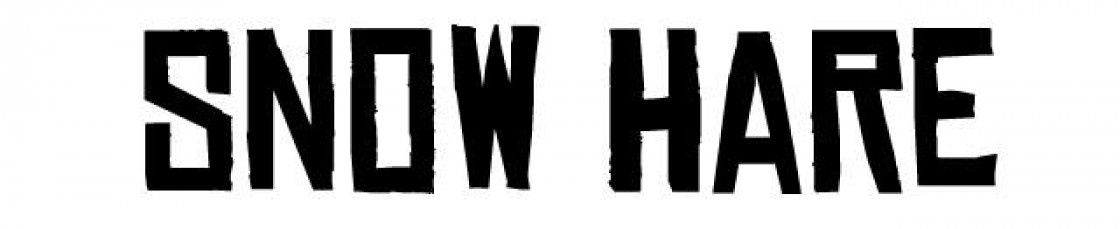
All three of Ville’s designs are really cool. We particularly liked the font he used and the general idea behind the logos, since they represented the idea we had very well. Design #3 was particularly spot on!
Mika’s design

Mika’s design
There were a few other variations on this one, mostly playing with the expression of the hare, we settled for this smirking/drunk hare. It’s the funnest design of all.
And the winner is…
So, now that you’ve seen all the designs you might have a particular one you liked. But the one we liked the most and the winner of our little competition is Ville’s design #3. Here it is again, a bit bigger.
Ville’s design #3
We’re not sure if you all agree, but we really liked this design and we are discussing possible changes/improvements. So this is not the final final version, but it gives an idea of where it is going. It’s a very cool post-modern Aztec hare.
The prize beer
The prize beer is still under discussion, but it will most likely be some sort of Pale Ale or Brown Ale. The idea is to discuss the potential recipe with Ville and come up with something that he will be fond of.
Once the final version of the logo is ready we’ll post about it. You can also expect to see a format change in the blog. Till next time!
/R