Priming and bottling the E.S.B

Alright! as promised… this is the short (hopefully) post on priming and bottling.

I have to say, this has got to be the most annoying part about brewing, and as far as I’ve read, I’m not the only one that thinks so. Fortunately I think this is mostly due to our equipment and not so much to the actual act of priming and bottling. So!, first things first, check out the following pic.

Pre-bottling

Pre-bottling

In the photo above you can see our equipment prior to bottling. On the left you can see some bottles, some are clean, some are not. then to the right of that you can see the caps, the siphon and the cap placer. All the way to the right you can see the fermenter with the pre-carbonised beer. On the bottom you can see our brewing pot. Since we don’t have a bottling bucket at the moment, we used the pot to both disinfect and prime.

The pot filled with disinfectant was used to fill the bottles and then rinse them. Since it’s StarSan, we didn’t really need to wait for it to dry and we just bottled that way. Once we had everything ready and all the bottles lined up in the disinfectant pot we started preparing the primer.

Priming

Priming as many of you probably already know, is the act of adding some more fermentable materials to the pre-bottled beer to enable a bit of extra fermentation. This extra fermentation is not so much to create more alcohol as it is to carbonate the beer. That is generate a bit more CO2 in the bottle and create the bubbles, the head (Proteins and lipids also affect this though) of the beer and its general fizziness. There are two ways to do this: the old way, and the better way.

  • The old way.- basically add a teaspoon of sugar to each bottle. The advantage of this is the capability to bottle directly from the fermenter, the disadvantage is that your pouring solids into a bottle, possible inequality in the distribution, and its generally annoying.
  • The better way.- Having a bottling bucket (or similar) use a liquid solution with fermentables and mix it equally with all the beer.

The amount of fermentables depends on the type of fermentable used. In our case, since we used table sugar we used around 90 grams boiled in 2 cups of water, then cooled it a bit. The normal amount for a 19L batch is around 114 grams, but we had a 17L batch, so we made some “on the fly” estimation and put 90. This mixture was put at the bottom of the pot we were using as a bottling bucket. After this was done we started siphoning the beer from the fermenter to the bottling pot. We avoided any stirring and rough transfer to avoid oxidation. You can see part of the transfer in the following pic.

Filling the bottling pot

Filling the bottling pot

Once the pot was full we used a large spoon (disinfected of course) to mix in the mixture, carefully avoiding oxidation. As I recall, it is suggested to leave this sitting for around 30 minutes before bottling, but since we were in a hurry we decided to go ahead and do it.

Bottling

Unfortunately, we didn’t manage to get any good pictures of the actual bottling as this required both of us to be helping in handing the bottles over. The basic process is quite straight forward though. It is only required to put the siphon in the bottling bucket(pot) and start siphoning into bottles. Since we didn’t have a filling tube we had to pinch between bottles… it was very messy. In the end though we managed relatively fine. We filled 20 swing top bottles which saved a lot of caps and helped my patience. The other 20+ bottles were capped with a very old, very annoying tool. We broke one bottle and had some troubles, but in general we managed to bottle ok. We now have a bottling tube so hopefully next try will be better.

Storing

The bottles have been stored now for 1 1/2 weeks in a dark place. This Sunday will be the official trial and we’ll see how bad or good it came out. Expect the first evaluation post at some point next week.

Oh! I almost forgot…

Final Gravity! we took a measurement before bottling and we got the FG around 1.010. This means we got an ABV of around 5.2%. I got this calculation with an online calculator, I didn’t feel like doing numbers at that point.

Next post will be about our second beer recipe. Anni will post that at some point this week or next. See you then!

/R

Advertisement

The wort chiller

We were planning on writing about the priming and bottling of our E.S.B, but we’ve been a bit busy and we haven’t downloaded the photos from Anni’s camera. This will be an intermediate post on wort chilling.

As both Anni and I mentioned in our last posts we didn’t really chill our beer after boil and prior to fermentation. We just used a cold water bath and cooled it over the evening. This last week however, we made our own wort chiller!

Both John Palmer and Marty Nachel explain how to make your own chillers in their books. The process is quite simple, the problem, at least from my perspective was finding the correct materials in Finland. However, thanks to our friend (and fellow homebrewer) Topi, we knew where to get the main component necessary. Before going on to source of material and end result I’ll explain a bit of the idea behind the wort chiller.

The idea behind the wort chiller is basically that of a heat exchanger. You have a looping coil of metal tubing through which you pump cold water. This cold water goes through the loop of metal tubing and cools the liquid its immersed in while getting hot. This water is then poured out of the loop while more cold water is pumped from the input. Think of a slinky made with tube and you’ll kind of get the idea. Ideally, the tube used should be minimum 3/8 inches in diameter(roughly 9mm) according to Palmer. While it doesn’t have to be made out of copper, copper is a bit more maleable than other metals so its easier to work with just using your hands and doesn’t require special equipment.

Now, going onto the results and how to achieve them. What we want to get to is something like whats shown below:

Wort Chiller

Wort Chiller

As you can see from the image above the input of the chiller starts at the top, then coils all the way to the bottom and then goes back up straight from the bottom to the exit. In order to bend the tubing I used a small pot as a reference. I didn’t want it to be too small and I didn’t want it to be too big, so I chose a pot that made a nice inner circumference in comparison to our mashing pot. Since the pot I used was quite short in height I could only wrap so much tubing nicely. The rest was a mixture manual bending and pot reference bending, that’s why the bottom part of the chiller above doesn’t look as nice. For the small bends I used a mug as support for the bending, I added some electrical tape to add some friction. I used this because if I had just used my hands I might have bent to narrowly and might have closed up the tube by accident.

As for the material used, here is the list:

  • 10m long 8mm diameter copper tubing (Polttoaineputki in Finnish), found from Biltema.
  • 10mm diameter plastic hose found from K-Rauta
  • 8-16mm clamps (Letkukiristin in Finnish) found from Biltema or K-Rauta

That’s all you need for the wort chiller, but you might also want to look into how to plug the hose to your faucet. For this I found two parts that were needed. I don’t know how they’re called in English, but they’re basically quick adapters that fit the faucet, I found the ones I needed from K-Rauta.

Notice that the diameter for the faucet connector might be different depending on the size of your faucet. So make sure you take it off and measure the diameter before you buy anything. Similarly, the hose connector was bought with the 10mm hose in mind, so you might want to buy that according to your needs.

Lastly, you might have noticed that the diameter of the copper tubing we used is only 8mm, contrary to the minimum suggested diameter from Palmer. This was merely a practical decision, it was the cheapest and easiest option available to us. In our experience it doesn’t really matter for small batches (<30 litres). We just used ours today and it worked like a charm! we cooled 20L of wort in about 30 min!

We’ll write another post soonish about our second batch of beer, and about the bottling experience with the first one. Stay tuned!

l8rs!

/R

What you need to brew

Making beer requires a bit more equipment than what you find in the average kitchen. As with any hobby, you can pretty much spend endless amounts of money on gear, but you can also get by with relatively inexpensive things.

What we have is somewhat of a compromise between the cheapest possible and easiness of brewing. We wanted a reasonable batch size, which we decided is around 20 litres. We went for the brew in a bag (BIAB) method, which saved us from having different pots for mashing, sparging and boiling. We also decided not to invest in a chiller at this stage and just see what happens.

So I’ll just go over what we have in approximately the order you need them in the process of brewing. Hopefully this is useful for those who are thinking about starting to brew their own beer.

Mashing:

  • A big pot, ours is 25 litres. We ordered it from German Amazon.
  • A brew bag. We got ours from Lappo.
  • Something to mix the mash with. We got a really big spoon from Brewcat.
  • Bringing the water to mashing temperature would have been possible with our kitchen stove, but we would not have been able to boil the wort with it, so we bought an inductive plate which we used for this step as well. Ours was this one. We chose it because it was the cheapest we could find.
  • For mashing we insulated the pot with an old camping mat and a sleeping bag. It worked surprisingly well. These we had already, but you can buy inexpensive ones at any supermarket.

Sparging:

Some sources say, you don’t need to sparge/rinse with BIAB, but we sparged through the bag anyway. For this you need an other pot to boil the sparging water in.

  • We bought a 10 litre pot for this. This was from the local department store, and it cost about 40 euros. We’ll use this for other things, like cooking and making cheese, so it was worth buying one. You can also use couple of smaller ones, or what ever you have available.
  • We used an oven grill to help, so we could lift the bag on top of the brew pot to put the water through. This we already had in the house.
  • A measuring jug was used to pour the water on the malts. This was also from the supermarket.

2014-02-01 16.14.36

Measuring:

You’ll be measuring things at several different stages during the process. I collected all measuring related equipment here under the same category instead of mentioning them at different stages. I hope this makes sense to you as well.

  • You’ll need to be able to measure the gravity of your wort to know if it has the right amount of sugars to get the alcohol percentage you’re aiming for. For this you need a hydrometer and test tube/jar. We already had a hydrometer. We bought the jar for it from Lappo.
  • Thermometer for mashing, boiling and chilling. We got a digital one from Brewcat. You can probably survive with a simpler one, or you can invest in a fancier one, which ever is your priority.
  • The downsides of getting a cheap one are, that the response time is a bit slow and the thermometer is not water proof.
  • Kitchen scale for weighing malts and hops. We already had one, it’s just a simple inexpensive one from the supermarket.
  • We also had a couple of measuring jugs, these were simple plastic ones from the supermarket. (We have 1 and 2 litre ones.)

Boiling:

  • Everything needed for this step was actually already used during the mashing.
  • As a reminder, you’ll need a big pot, something to heat it up with and a spoon or ladle to mix it with.
  • We also used mesh bags for hops, but this not necessary. They don’t cost much though, and make your life easier, so I would recommend getting some.

Chilling:

  • We pretty much skipped this step, so no insight on this yet.
  • We used our plastic laundry basket as a cold water bath for the pot. This wasn’t very efficient though, but from what we’ve heard, other homebrewers have managed to make good enough beer without a chiller. So while it is best to chill your wort, I don’t think it’s the first thing you need to worry about.
  • Well probably be attempting to make some kind of DIY chiller, and we’ll report back on it, when we’ve tried it out.

Fermenting:

  • You’ll need a bucket or a carboy to ferment the beer in. We already had a 30 litre fermenting bucket at home, so we just used that.
  • The fermenting beer will need some head space, so you can ferment approximately 25 litres in this size bucket.
  • Also a waterlock (to keep the air out, but allowing the carbon dioxide to go out) is needed. These don’t cost much, so we recommend getting a 3 piece one, because those are easier to clean.
  • After the wort has been chilled you need to be very careful with hygiene. So you need something to sanitise everything that touches the chilled wort, including the fermenter. We used Star San for this. It was also ordered from Brewcat.

Bottling:

  • We haven’t bottled the beer yet, so this is just based on what we’ve heard.
  • You need clean bottles. Preferably brown. Ask your friends or your local pub. Or drink a lot of beer, which ever you prefer.
  • You need caps and a capper. Any homebrew supply store will sell these. We already had some from Roberto’s previous brewing experiments.
  • The bottles also need to be cleaned and sanitised. You need a bottle brush, some washing up liquid and the same sanitiser that was used earlier.

I believe this is pretty much everything. I might have forgotten something. If that’s the case, please comment, and I’ll fix the post. Of course you can spend a lot more money on better equipment, but we’ve proven, that beer can be made with these. In my opinion it’s important just to get started, you can always invest more on your hobby later. Of course, if money is not an issue for you, just go ahead and splurge.

Happy brewing!

Anni

The first beer – E.S.B

Unexpectedly, this post will not be about the equipment we bought to make beer – although that post is currently in progress under Anni’s fingers – no, this post is about our first beer and the process we followed to make it!

This decision came before the original schedule because we received all the ingredients and missing equipment during the week. Having everything in hand… well… we decided what the hell!

Ok, on to the fun stuff! We wanted to make a beer that is fresh-ish, but not too light and not to heavy, so we decided to go for an Extra Special/Strong Bitter. The recipe we followed was obtained from the Homebrewing for Dummies book by Marty Nachel, mentioned in the previous post. The recipe won the 1st Place Award in the American Homebrewers Association Nationals and was brewed by Andy Leith. We followed the recipe almost completely, but changed a few things for two reasons:

  • Lack of experience in attempting to execute a step mash (mashing at different temperatures for different times)
  • Lack of secondary fermenter

The modified recipe was as follows:

  • Base grain: 4.3 Kg of Pale Ale malt
  • Specialty grain: 200 grams of 100-L Crystal malt
  • Bittering hops: 50 grams of Willamette hops (90 min)
  • Bittering hops: 15 grams of Cascade hops (90 min)
  • Finishing hops: 25 grams of East Kent Goldings (2 min)
  • Yeast: Wyeast #1084
  • Mashing: Single step mash at 67°C (90 min)
  • Primary: Undecided yet, but will be between 8-14 days
  • Batch size: 18L

Another thing to have in mind is the beer profile for E.S.B’s, this is:

  • OG/FG: 1-048-1.060+ / 1.010-1.016
  • ABV: 4.6-6.2
  • IBU’s: 30-50+
  • SRM: 6-18

Ok, now for the fun stuff, since this is the first post related to our homebrewing, I’ll describe the process step by step, further posts will focus on the recipe and general process without many details. So!, the process can basically be divided into sanitising, mashing, sparging, boiling, cooling, pitching and fermenting.

Before moving on to the steps I’d like to point out that we had a little software help. There are a few applications out there that are pretty helpful for the beginning brewer, some are: BeerSmith2 and BrewMate. For this beer we used BrewMate (http://www.brewmate.net/), which is free software for Windows that pretty much does all the math for you in terms of amounts of water to use for mashing, sparging, temperatures, etc. It basically makes all the calculations based on the ingredients you want to use and the desired beer outcome, so it saves quite a bit of trouble in making beer. We’ll write a review on some of these applications at some point. For now, on to the brewing!
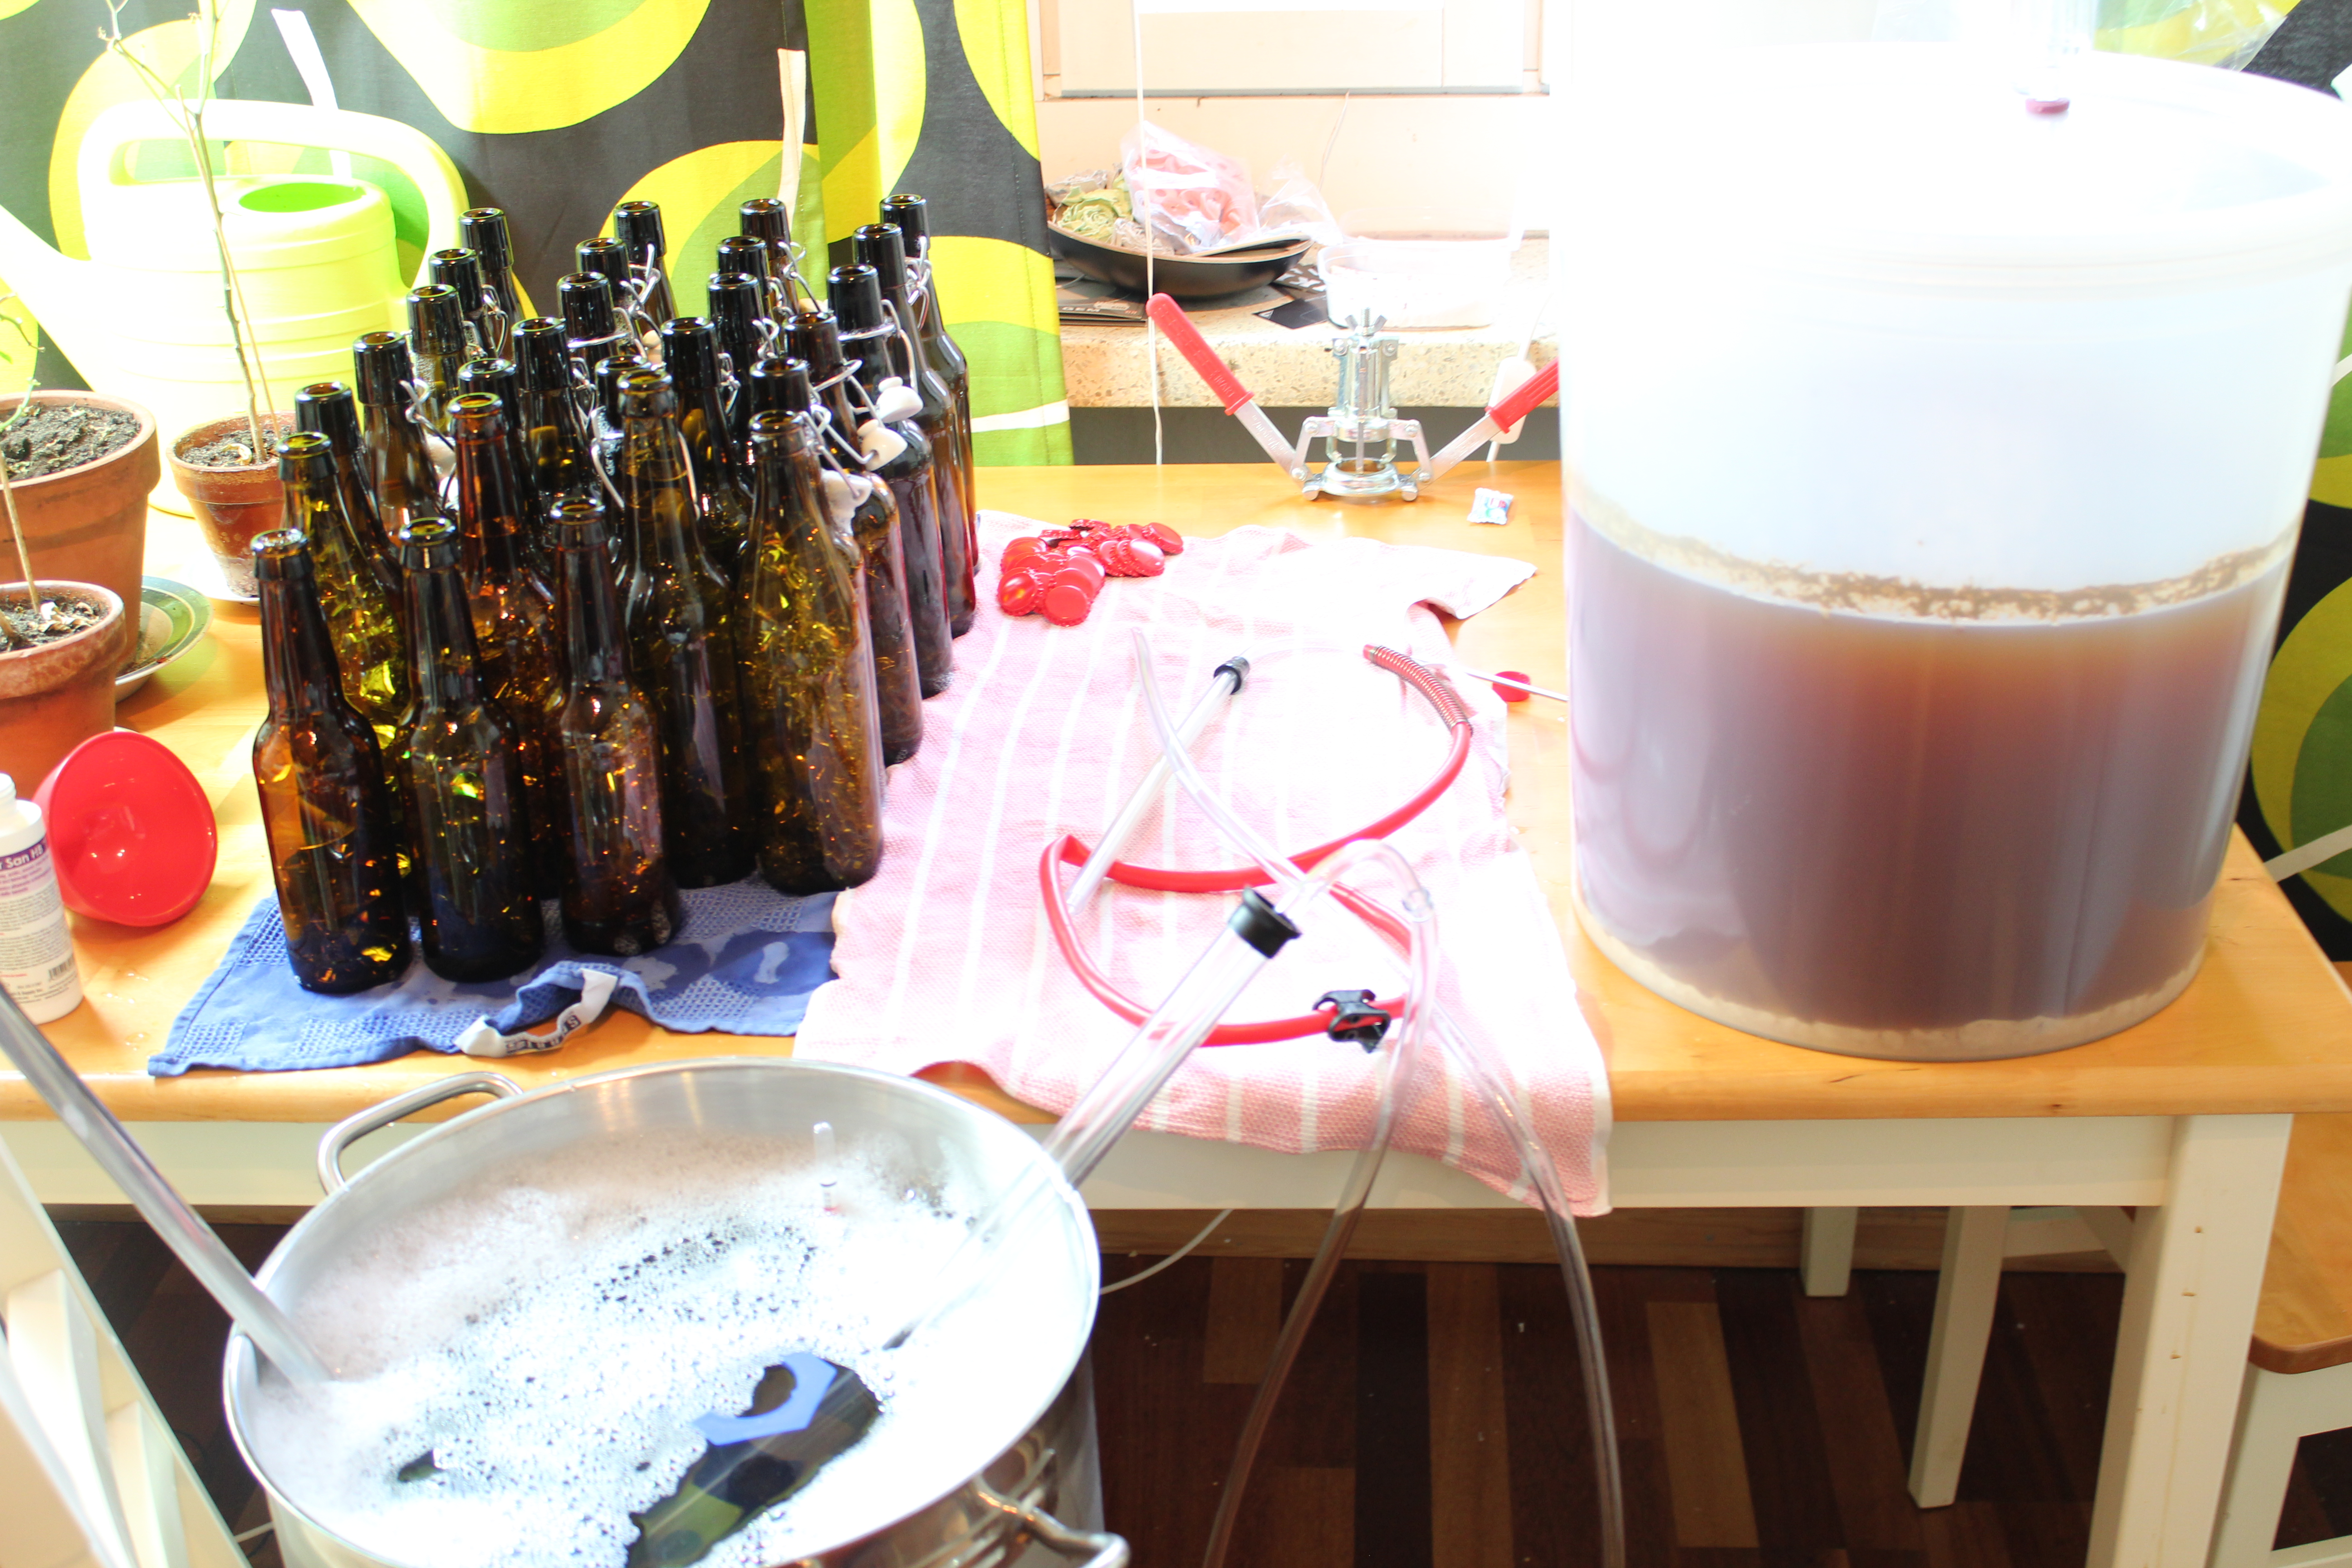
Sanitising

This is not just cleaning. This is actually disinfecting all the equipment that will come in contact with your wort with special agents. This subject deserves a post of its own, but suffice it to say that it basically consists of diluting disinfecting chemicals in water(i.e. chlorine, ammonia, iodine-based sanitisers, lye, percarbonates, etc.) and using this to disinfect everything.
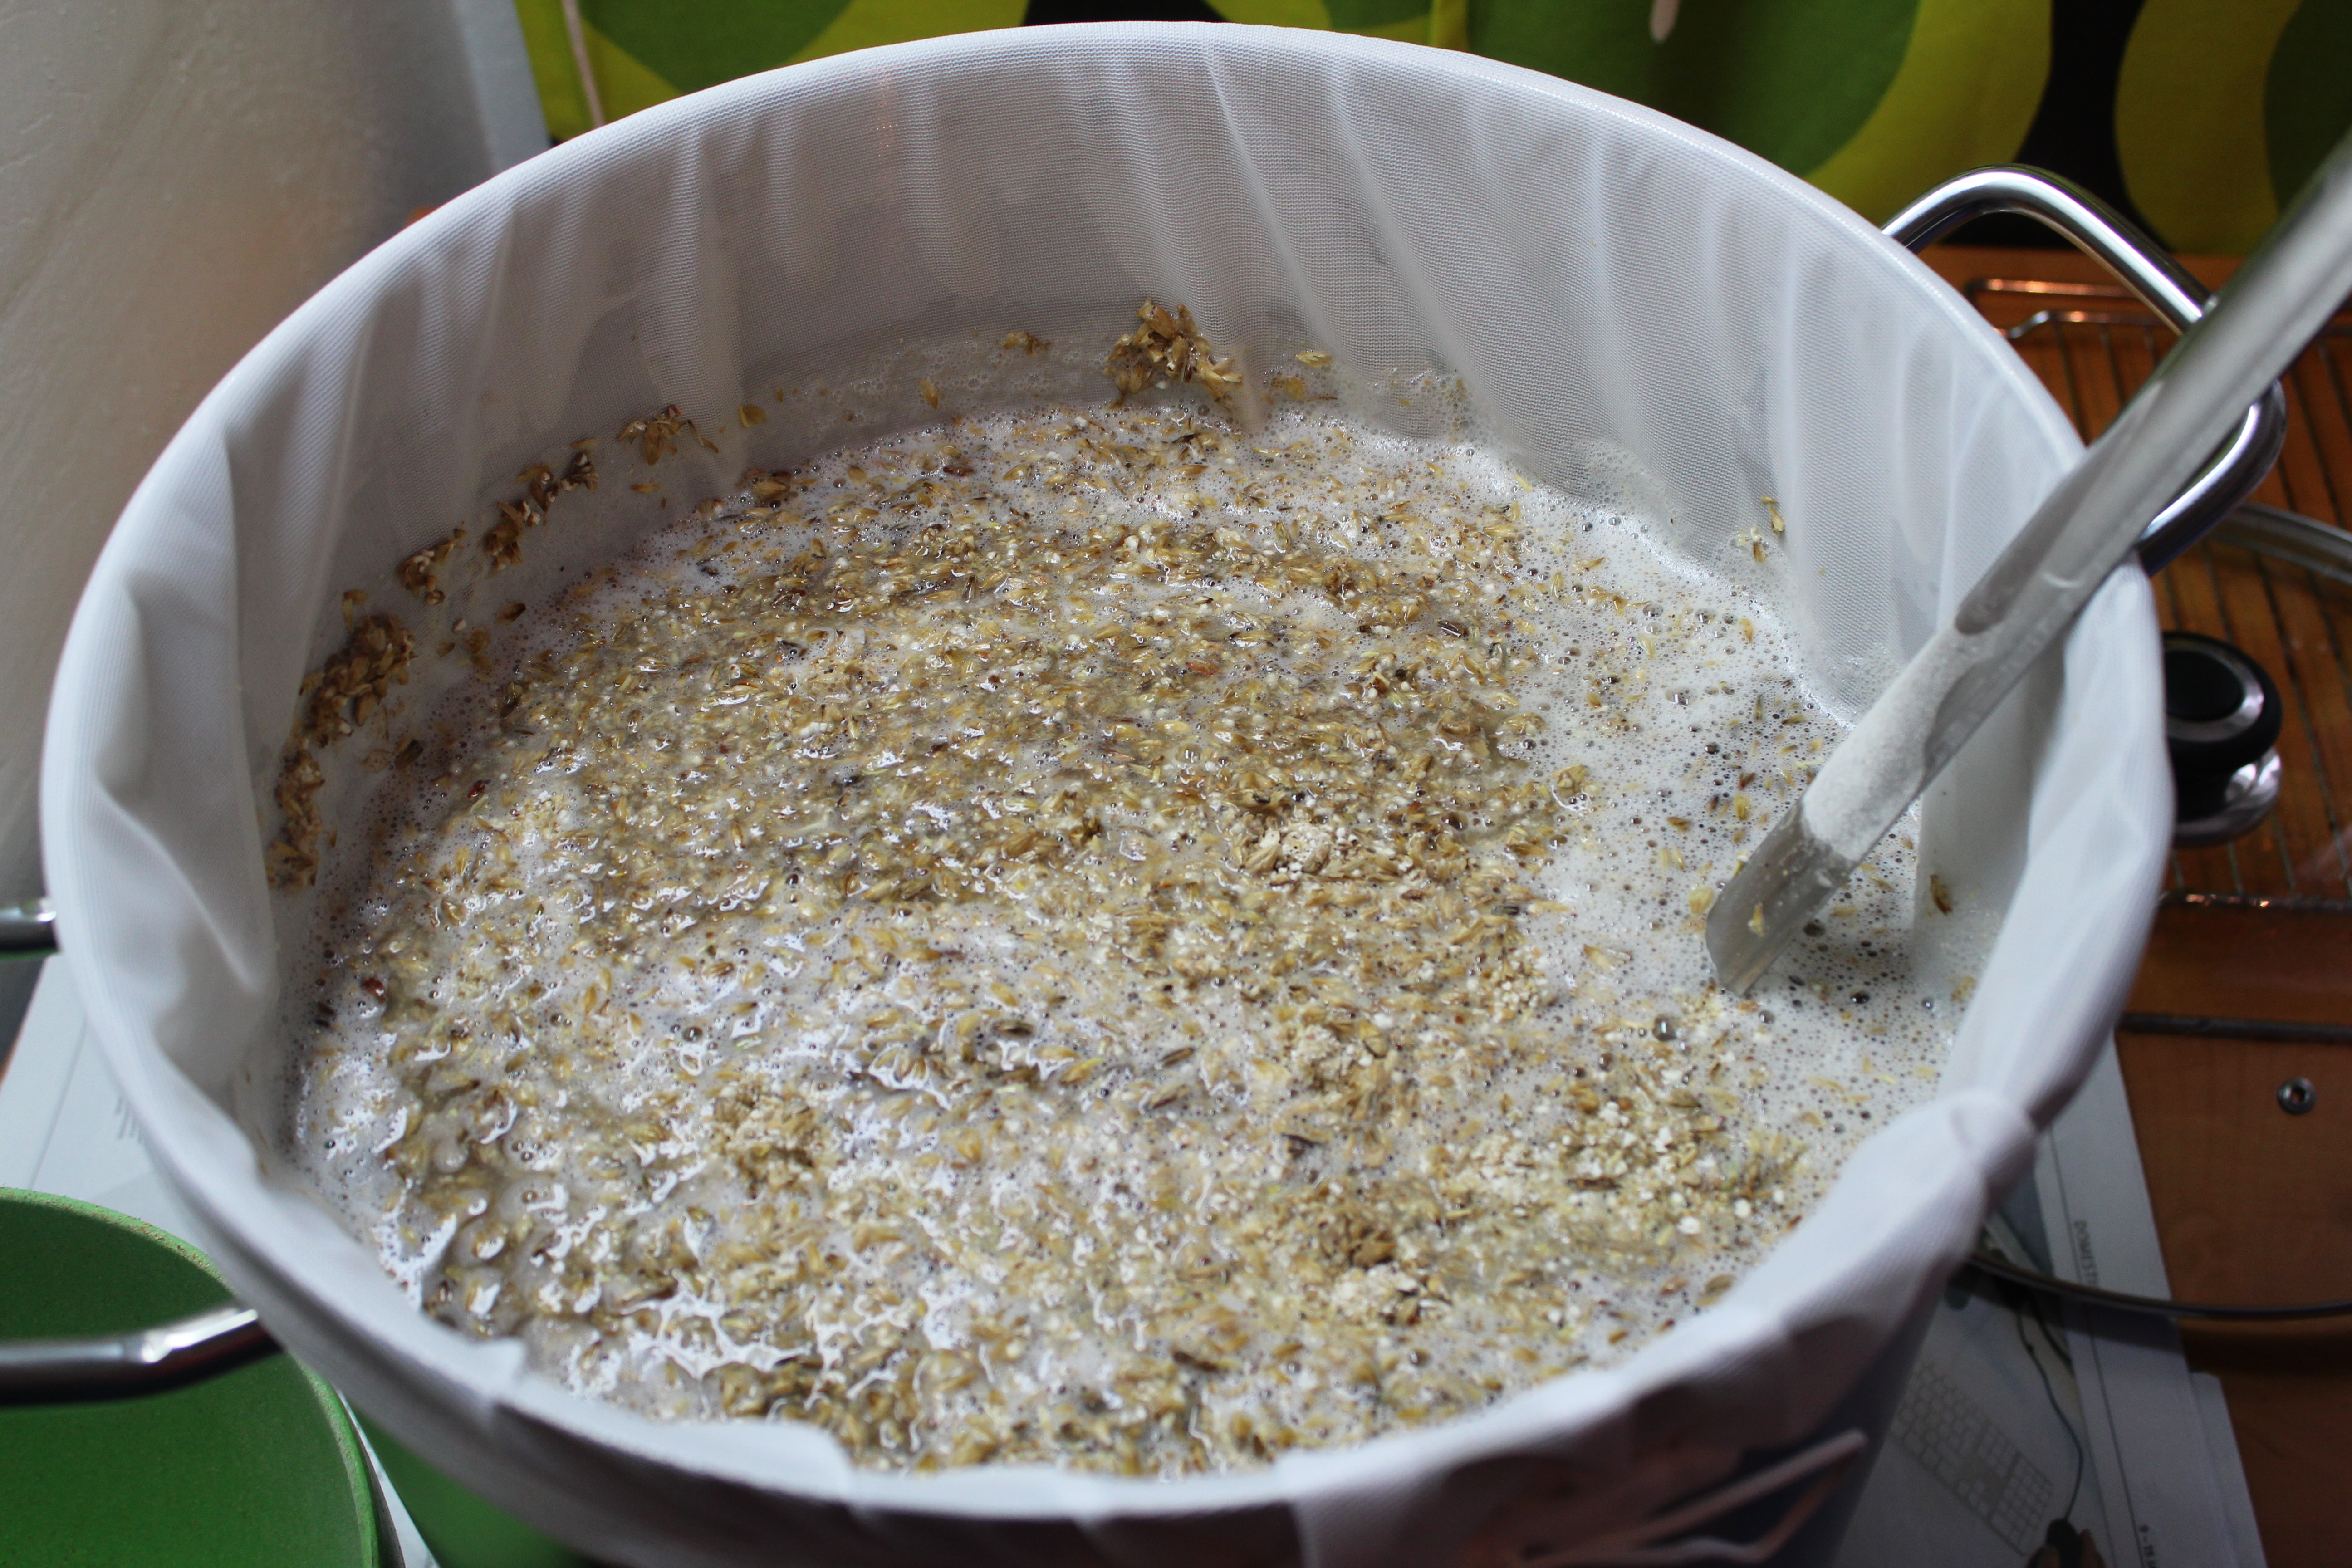
Mashing

According to BrewMate, for the amount of malt we were using we needed to bring 12 L of water to the strike temperature of 74°C, once this was done we put the malt bag in the pot and added the malts. It looked something like this:

Mashing

Adding malts to strike water

Adding the grain brought the water to the desired temperature of 67°C. This is because most of the fermentable sugars from the grain are obtained between >60°C and <70°C. After this we insulated the pot with an old sleeping mat and a sleeping bag. So the result was the following:

Insulating the mash pot

Insulating the mash pot

An important thing to highlight is that is that BECAUSE we used a mashing bag for the malts the “Mash tun”(another container that is used when you have no bag, a cooler is typically used for this) was not necessary. While the mash was on-going, we checked the temperature and stirred every 20 min. All in all, we mashed for 90 min and the temperature never went below 64°C. The insulation worked better than expected. After this we put the kettle on the inductive stove and put the temperature up to 71°C-75°C for 12-15 minutes. This was the “mash-out”. Doing a mash-out is not necessary, but its recommended since it makes the wort warmer, less sticky and easier to filter, and it also destroys the left over enzymes in the malt.
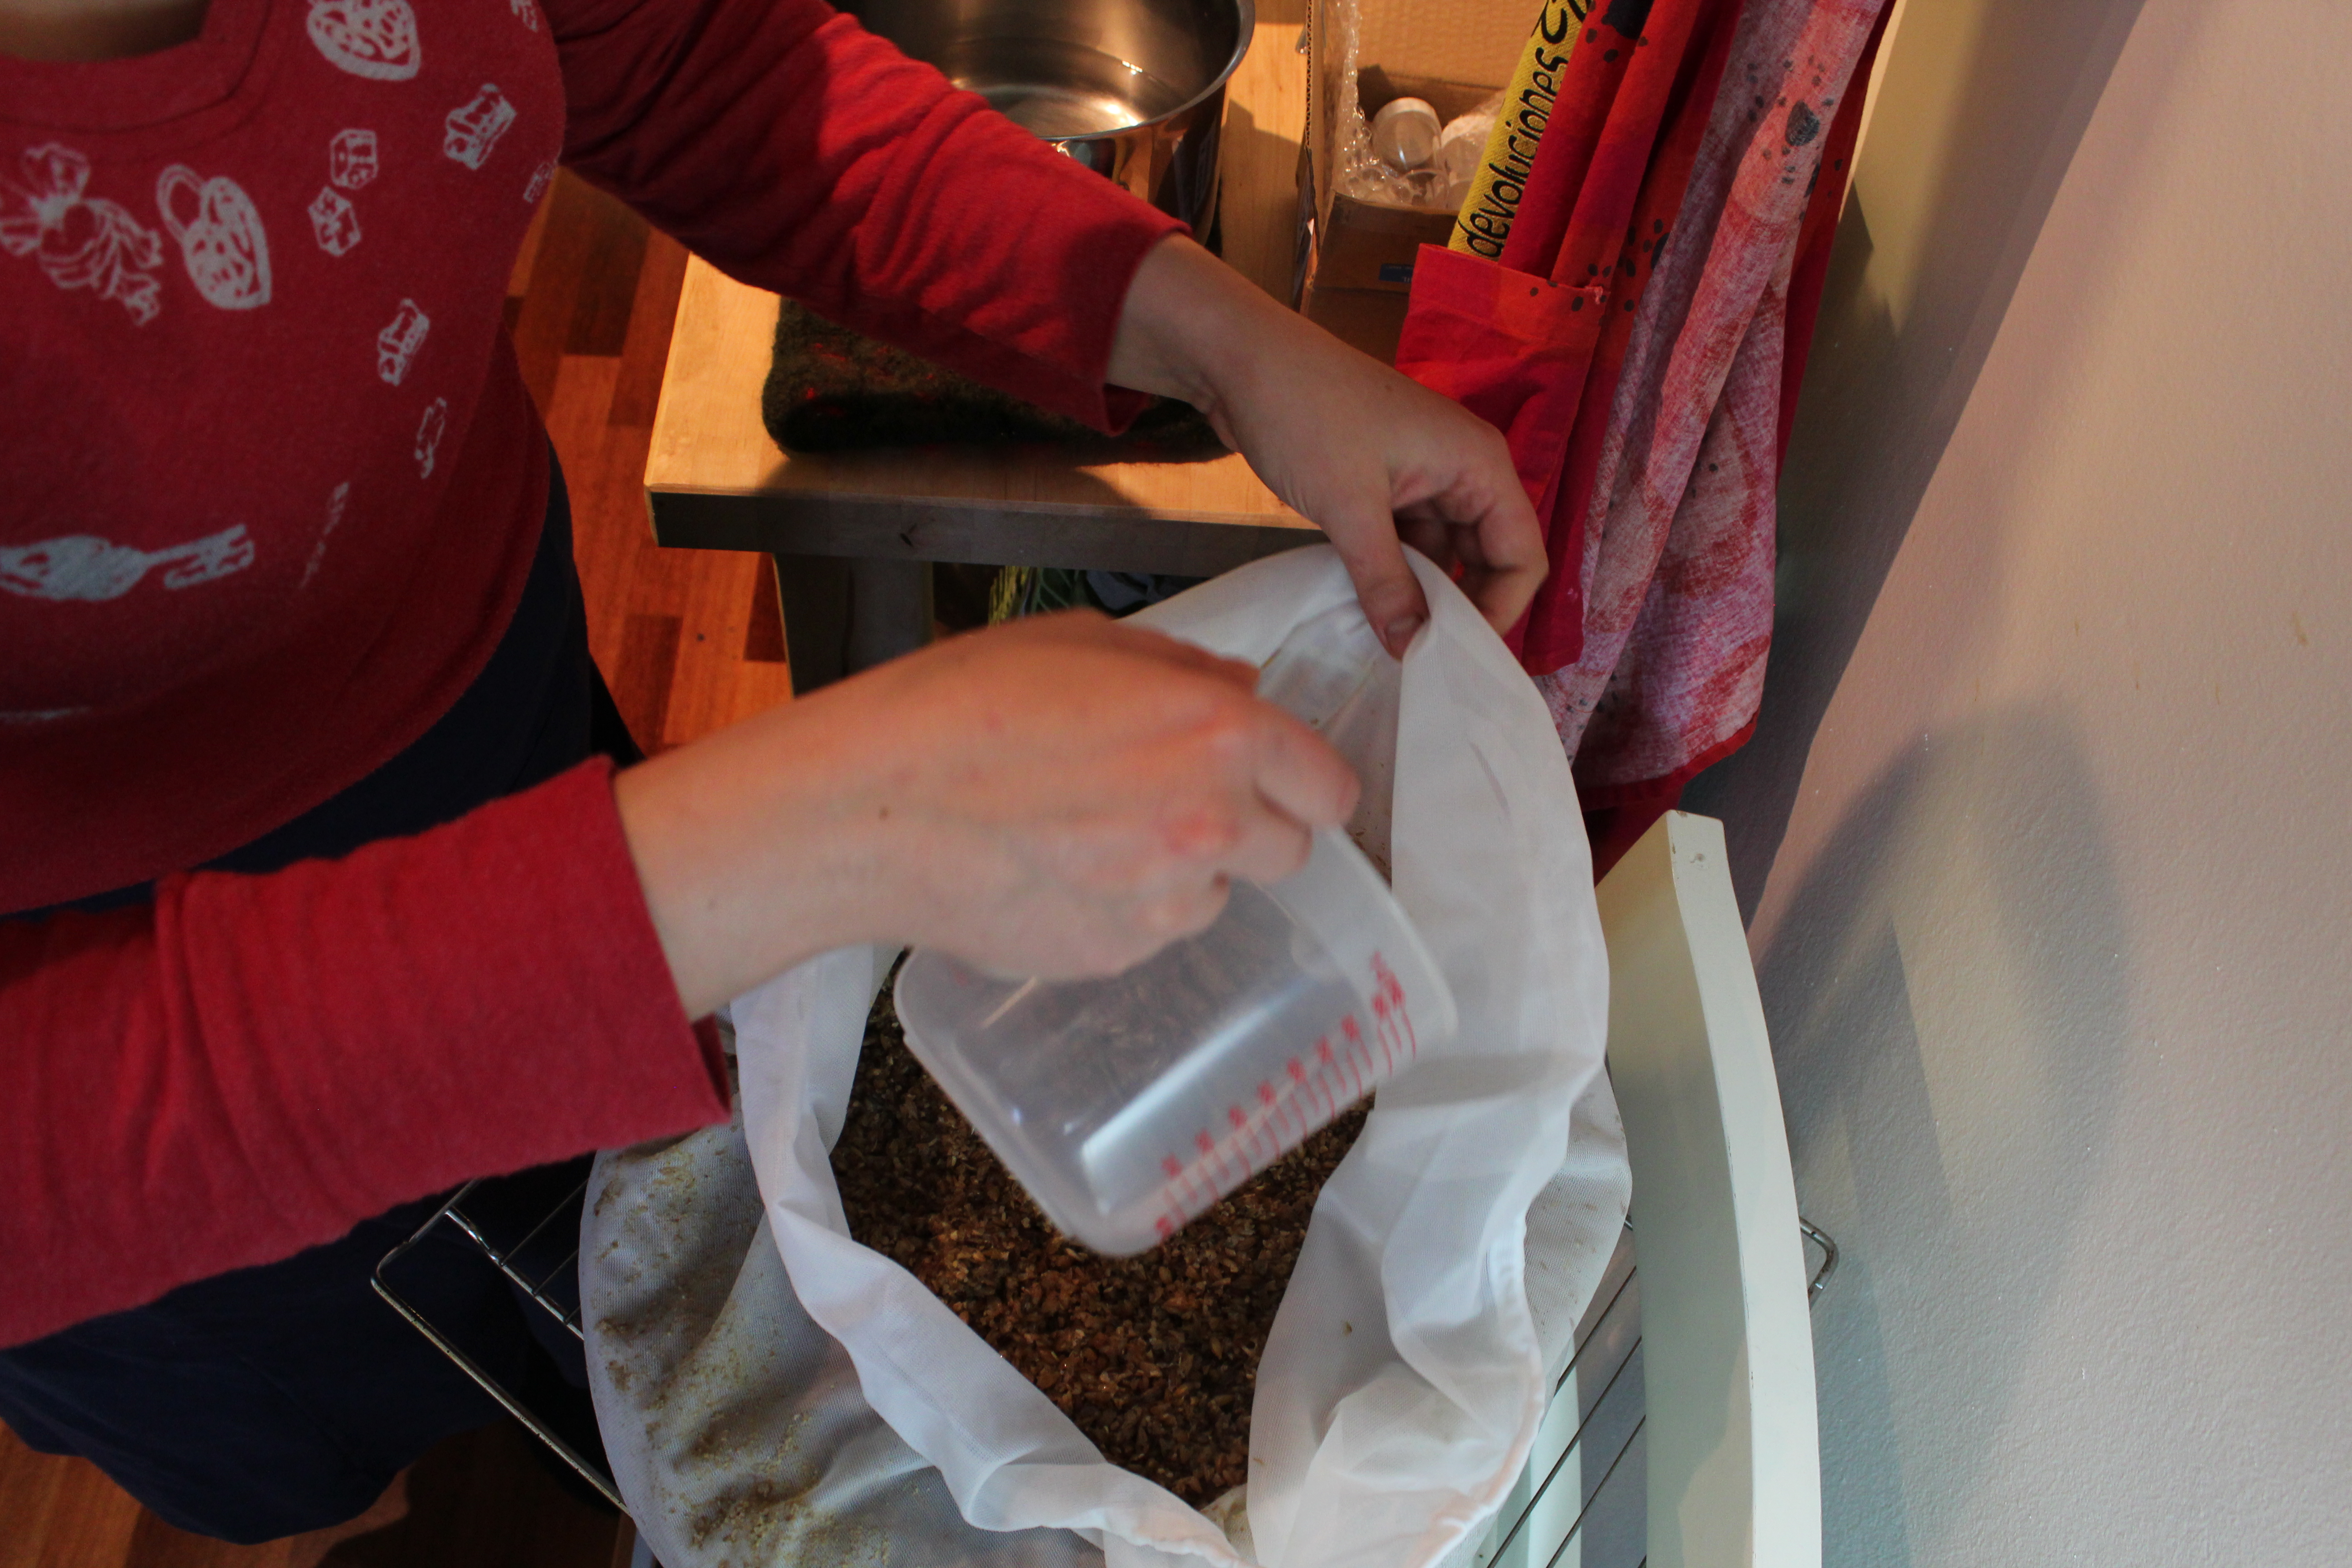
Sparging

Once the mashing was done, we took another 13 L of water preheated to 84°C per BrewMate instructions and prepared for sparging. Sparging, is basically a post-mash filtering/sugar obtaining process to finish getting the wort. We took the mashing bag out, put an oven grill below it and let it drip the left over wort for a while as seen below:

Dripping the left over wort

Dripping the left over wort

After this was done, we started adding the 13L of sparging water to obtain as much wort as possible from the grain. As seen in the following picture:

Adding sparge water

Adding sparge water

Once this was done we had roughly 22L of hot wort. Now, at this point what we did was take a sample, lower the temperature of the sample to 20°C and measure the gravity. Our aim was to get a gravity of 1.045ish, but the measure turned out to be 1.019 (which is really bad). Fortunately for us, we remembered that we hadn’t mixed the sparge wort with the base wort before taking the sample. So we mixed it, took a sample, and voilá! a gravity of 1.046 🙂

With this gravity we estimated the “mashing efficiency”, which translates to the efficiency in abstracting fermentable wort from malts. Since I won’t go into maths in this post I’ll just say that the estimated efficiency was between 65-72% which is not bad for a first try. I’ll make a separate post on calculating efficiency at some point in the coming weeks.

Boiling

After the mashing, we needed to bring the wort to a boil. We put the inductive plate to max power and waited for the boil to come. It took almost 20 min to get the boil, but we got it. We boiled for about 10 min while we added the bittering hops to the hop bags (think tea bags) and then we added them into boiling wort. This was done for 90 minutes. 2 minutes before the end of the 90 min boil we added the finishing hops.

Weighing the hops

Weighing the hops

At the 90 min mark we took out all the the hop bags out of the wort and turned the induction plate off. Wort preparation complete.

Removing the hop bags from wort after boil

Removing the hop bags from wort after boil

The wort once boiled had some floating stuff in it, these were basically the proteins from the mash that coagulated. Its normal, and its actually desired to have them around, since its a good indication that the wort is good. I’ve read that some brewers like to filter it before adding it to the fermenter, while others prefer not to. I guess its a matter of choice.
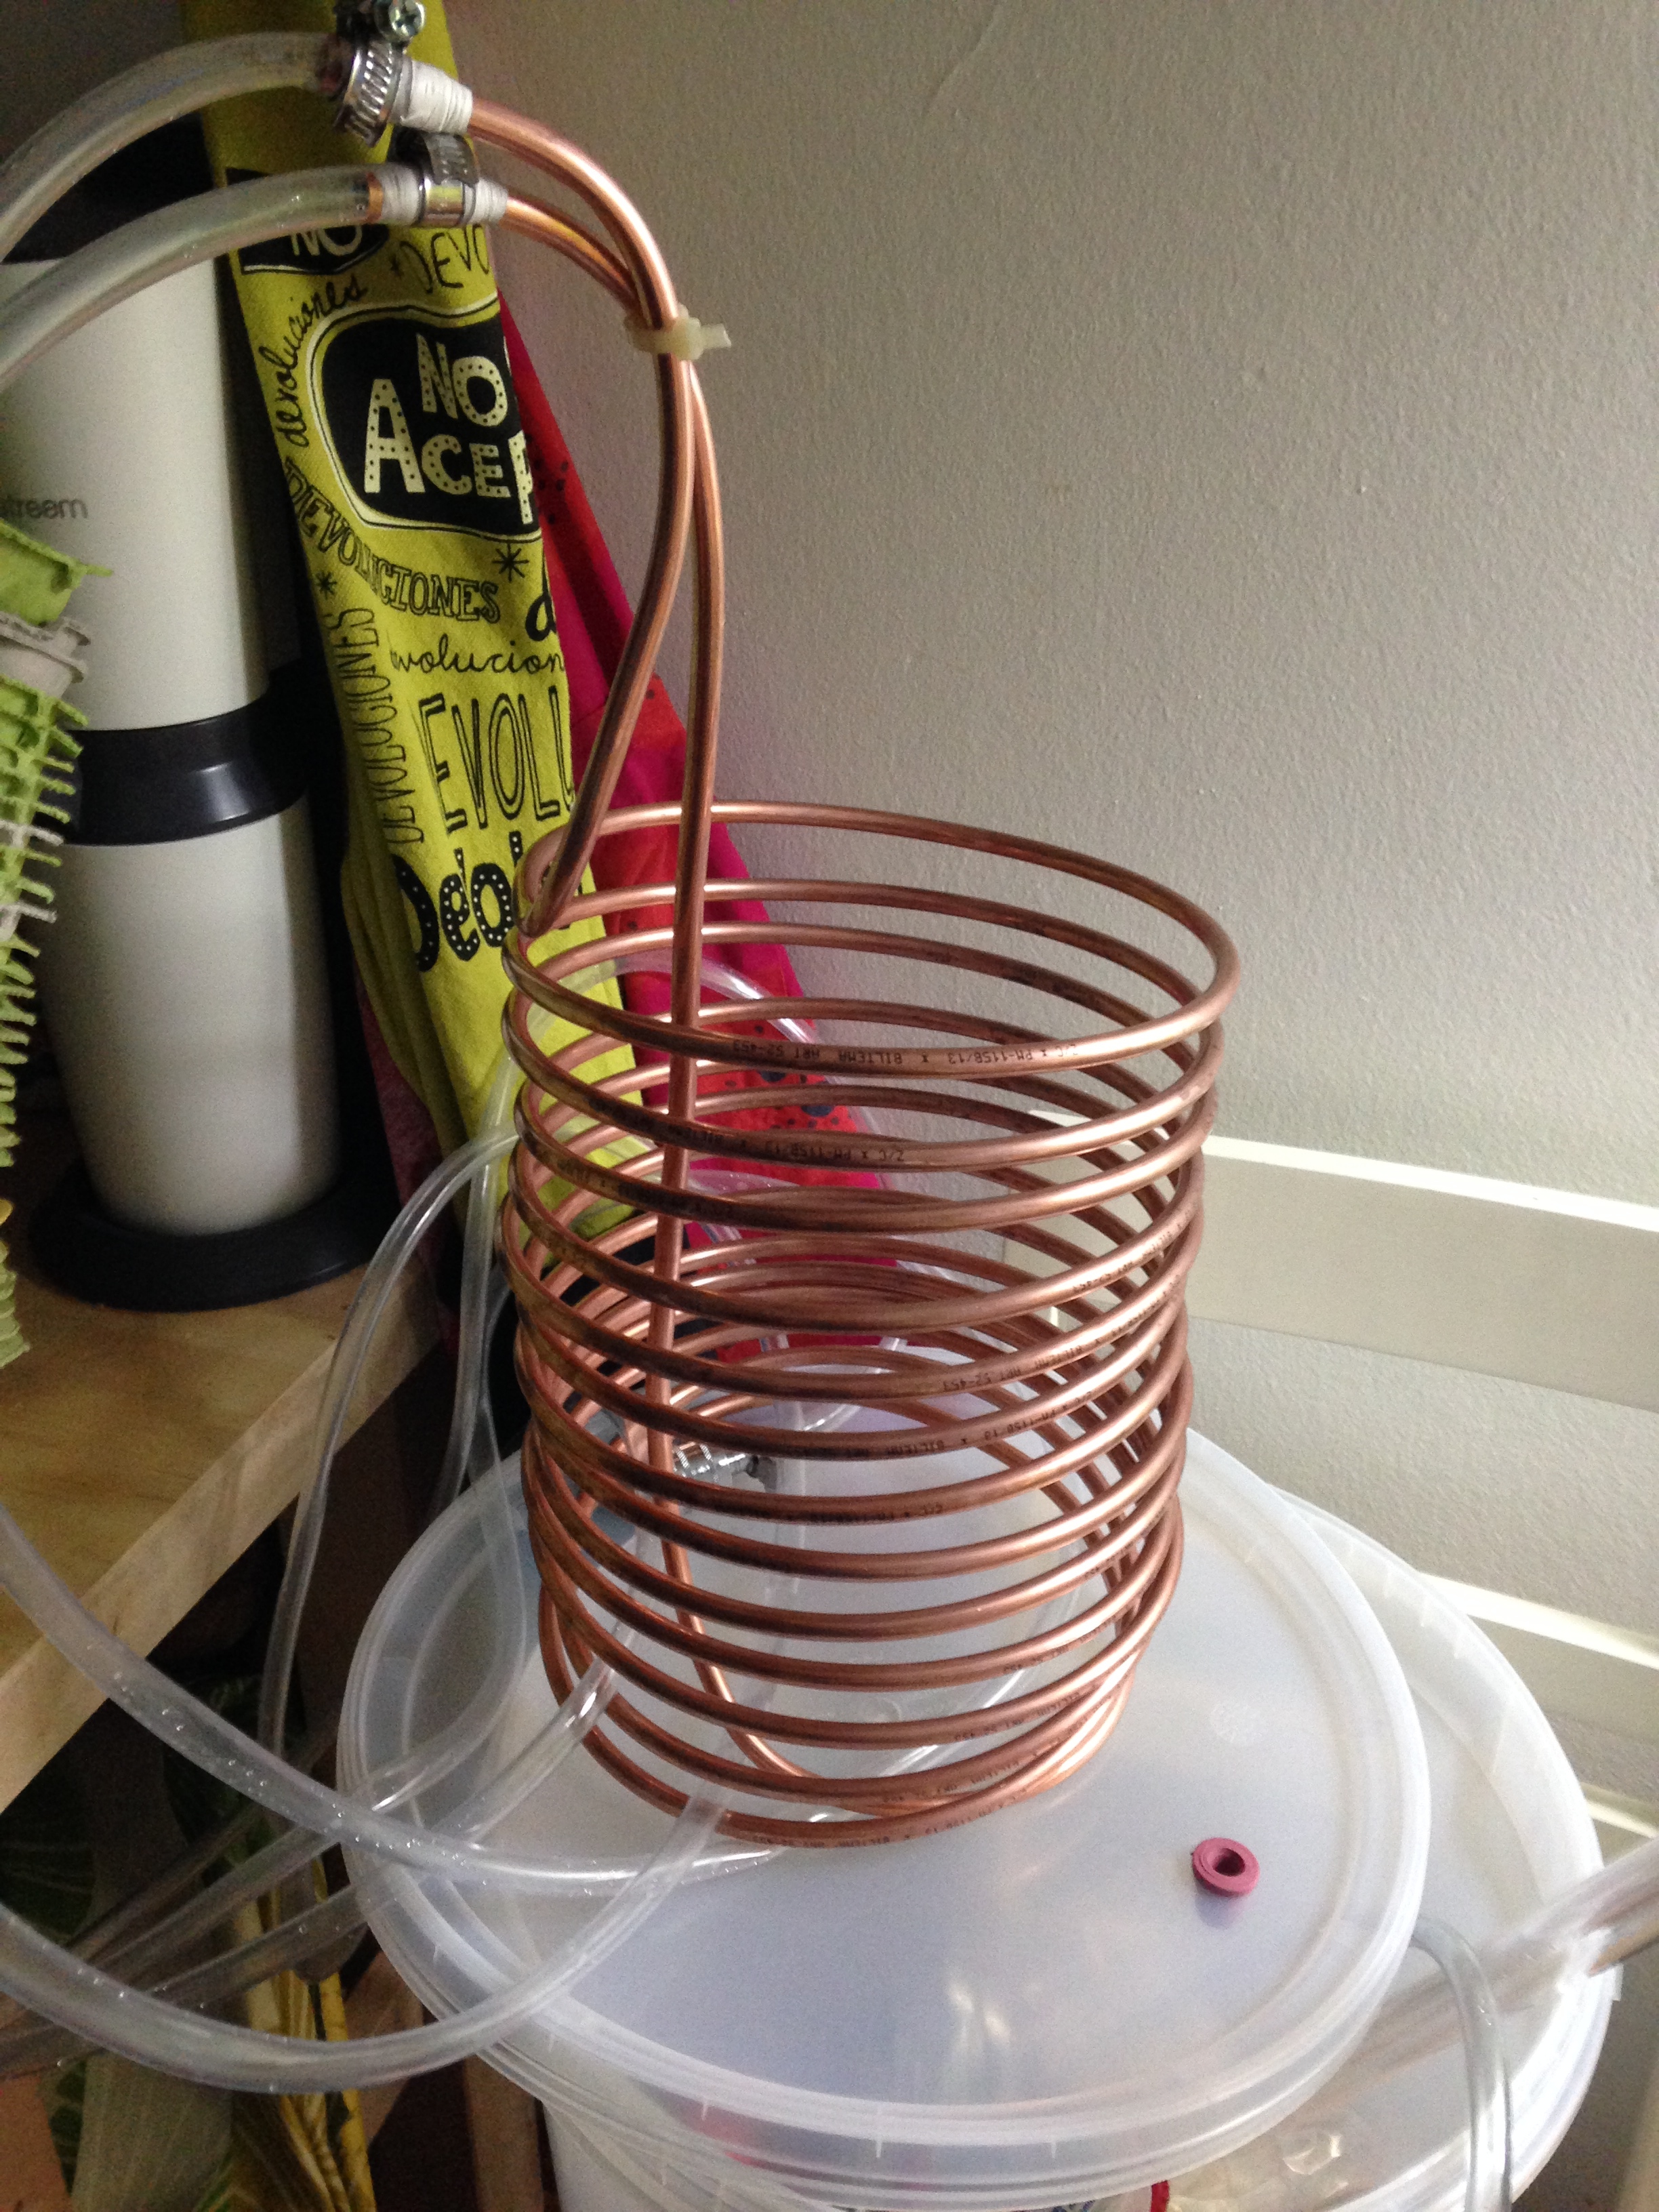
Cooling

Once the boil was done, we used a cold water bath to cool it down. Depending on who you ask (or read), its IMPERATIVE to cool down the wort within 40 minutes of the boil. To do this you need a heat exchanger or immersion cooler, but since we didn’t buy one, we went for the water bath. Some Finnish homebrewers and friends use the “No chill” method, which is basically letting the wort cool overnight in the sealed fermenter(to prevent oxidation) and pitching the yeast the morning after once the temperature of the wort is in the 20°C range. For the water bath we changed the water a couple of times, went to eat, came back to change the water, and then went for some beers. Upon return we checked the temperature, it was 21°C.

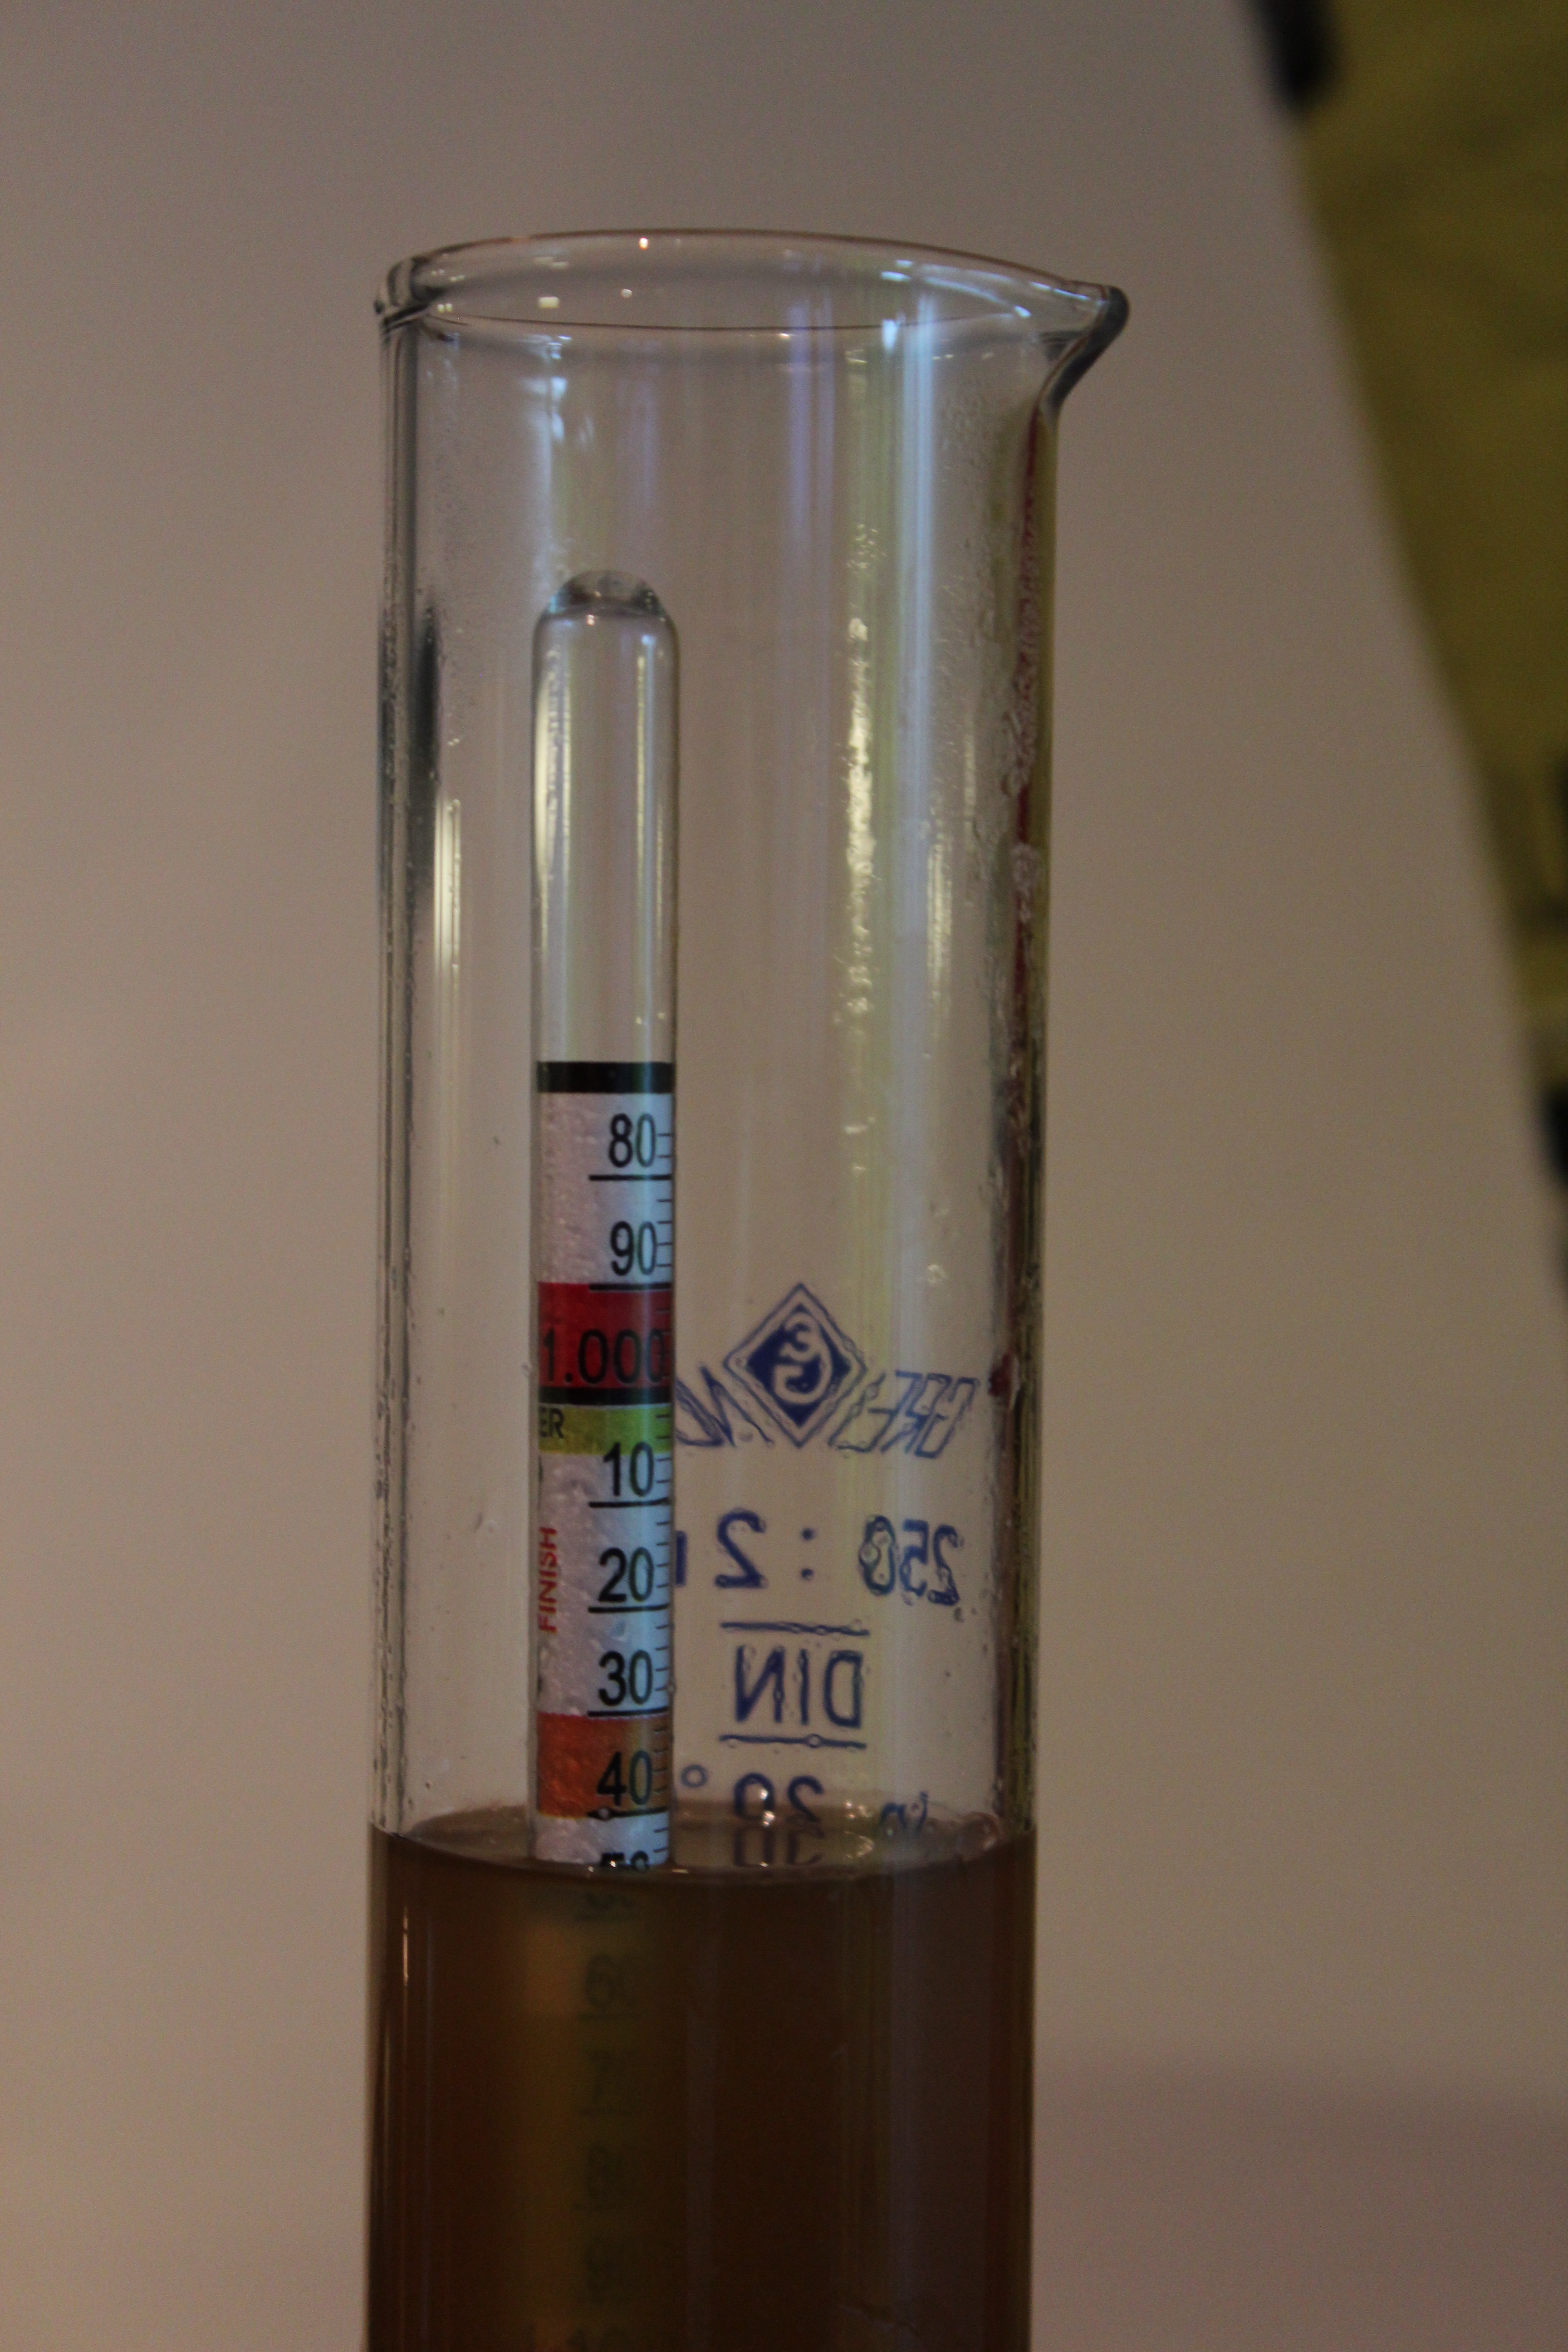
Next, we poured the wort into the sanitised fermenter. At this point you want make the pour as vigorous as possible so that the wort gets oxygen in it and it helps the yeast cells eat. Once inside the fermenter we took another gravity measurement. Unlike the previous one that was used to calculate the efficiency, this one was to get the Original Gravity(OG). This let us know the “alcohol potential” of the beer, our measurement came up as 1.050-1.052 which equals an alcohol potential of around 7%. See picture below.

OG measurement

OG measurement

Pitching

For the pitching (putting yeast into the wort), we pre-activated a “Smack Pack” the evening before brewing day. A smack pack is basically a bag that contains two things:

  • Yeast
  • Nutrients for the yeast

The nutrients are enclosed in a sealed package inside the bag, so to activate the yeast one just needs to literally “smack” the package to break in inner container and let the yeast activate. Depending on the age of the yeast it is recommended to activate 3-5 hours before pitching or 2-3 days before pitching. The final step before fermentation was simply to pitch the yeast into the wort, seal the fermenter and put on the water lock and shake the fermenter vigorously to mix the yeast and put more oxygen into the wort. The water lock allows CO2 to leave the fermenter, but prevents oxidation during fermentation.

Fermentation

The fermentation of our beer is currently still on-going, we expected to hear the water lock bubbling the morning after pitching, but it took a bit longer to start. It wasn’t until about 15-18 hours after pitching that we started hearing a constant bubbling and seeing a nice “krausen” (the foam at the top of the beer when fermenting) developing. At the moment of this writing the fermentation has slowed, but is still ongoing. We’re not sure if we’ll leave it for 7-8 days or if we’ll do it for 14 days, we plan on measuring the gravity on day 7 to see if the beer is ready or not and then decide if we bottle or not. Until then let’s see what happens!

l8rs!

-R